← Outdoor Survivalist Trainer Your area

Finding your way · Finding your way course

Read the land on a map

A map is only useful if you can match its brown contour linescontour lines The brown lines on a map that join points of equal height. Close together means steep; closed rings mean a hill; the shape of their bends shows valleys, ridges and draws. to the hills around you. The Army map reading manual breaks every landscape into ten shapes. Learn to see them on the ground and on paper and you can tell where you are and which way water runs.

Why this matters

A topographic maptopographic map A map that shows the shape of the land, hills and valleys, with lines that join points of the same height. can tell you where hills, valleys and streams are before you ever see them. But the map only helps if you can match what is on paper to what is around you. People get lost when the land in front of them does not look like the map in their head.

Contour lines are the brown lines on these maps. Every point on one contour line is at the same height above sea level, so the lines draw the shape of the land. The Army manual sorts all those shapes into ten kinds. Once you can spot them on the map and on the ground, you can work out where you are and which way water flows, which also points you downhill toward streams.

What you need

  • A topographic map of the area. On most it is the brown lines that show the shape of the land.
  • A compass helps but is not required; you can turn the map to match the land by lining up landmarks.
  • No map? The ten shapes still help you describe and remember the land around you.

Step by step

  1. First rule, from the survival manual: remember where you are. Spot your location on the map and relate it to the ground around you, make sure everyone with you knows it, and keep track of the route yourself instead of relying on someone else. Knowing where you are means pointing to your spot on the map and naming the hills or streams around you. If you leave that to someone else and get separated, you are lost. Check your spot often, every time you pass something you can find on the map.
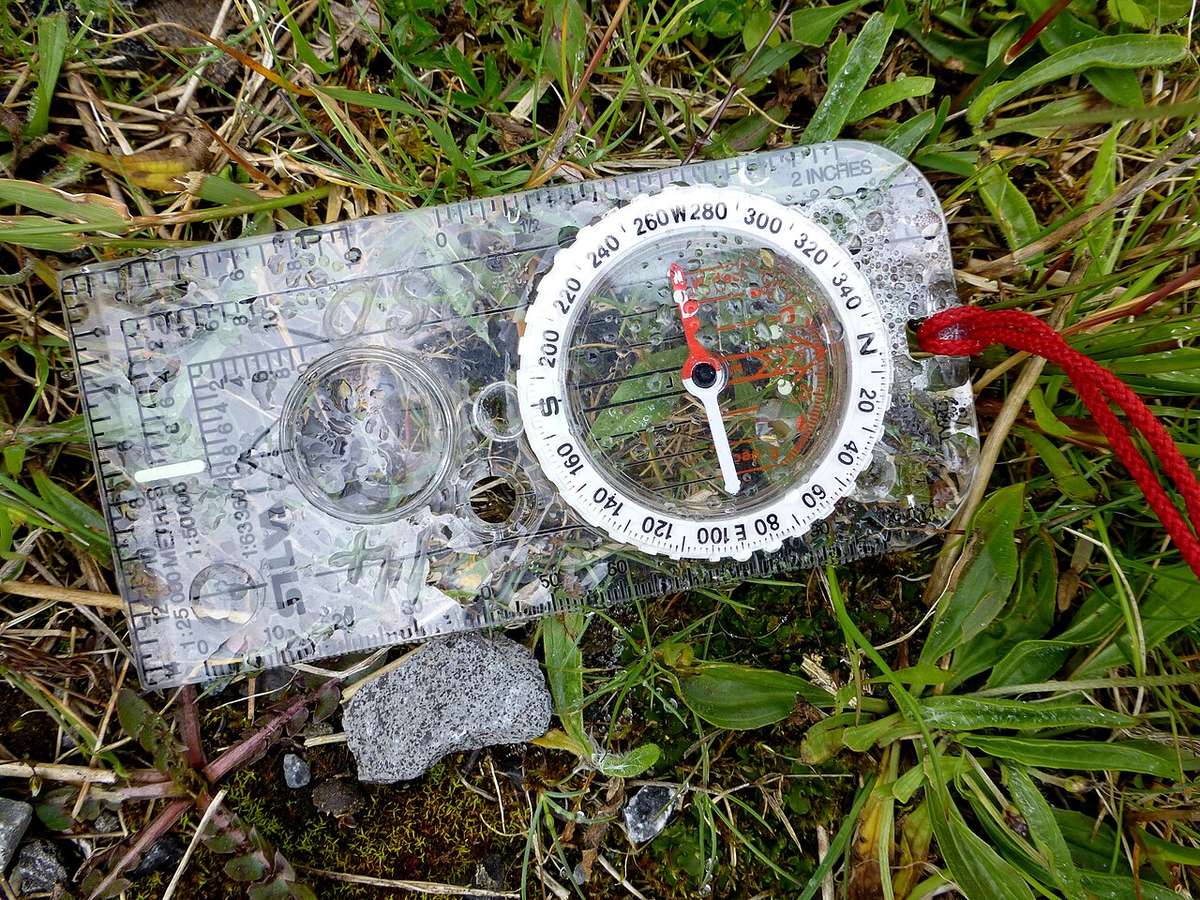
    A baseplate compass lying on a folded map in the grass
    Compass on the map: relate your spot to the ground around you
  2. Every terrainterrain The shape and kind of the land: hills, valleys, rock, swamp, forest. feature grows from a ridgelineridgeline The long top edge of a hill or a chain of hills, like a spine, with land dropping away on both sides.: a line of high ground with changes in elevationelevation How high a spot is above sea level. along its top and lower ground on all sides. The map manual classifies ten features from it. A ridgeline is a long line of high ground, like the spine of an animal, with lower ground on every side. All ten shapes in this lesson are pieces of a ridgeline and the land around it.

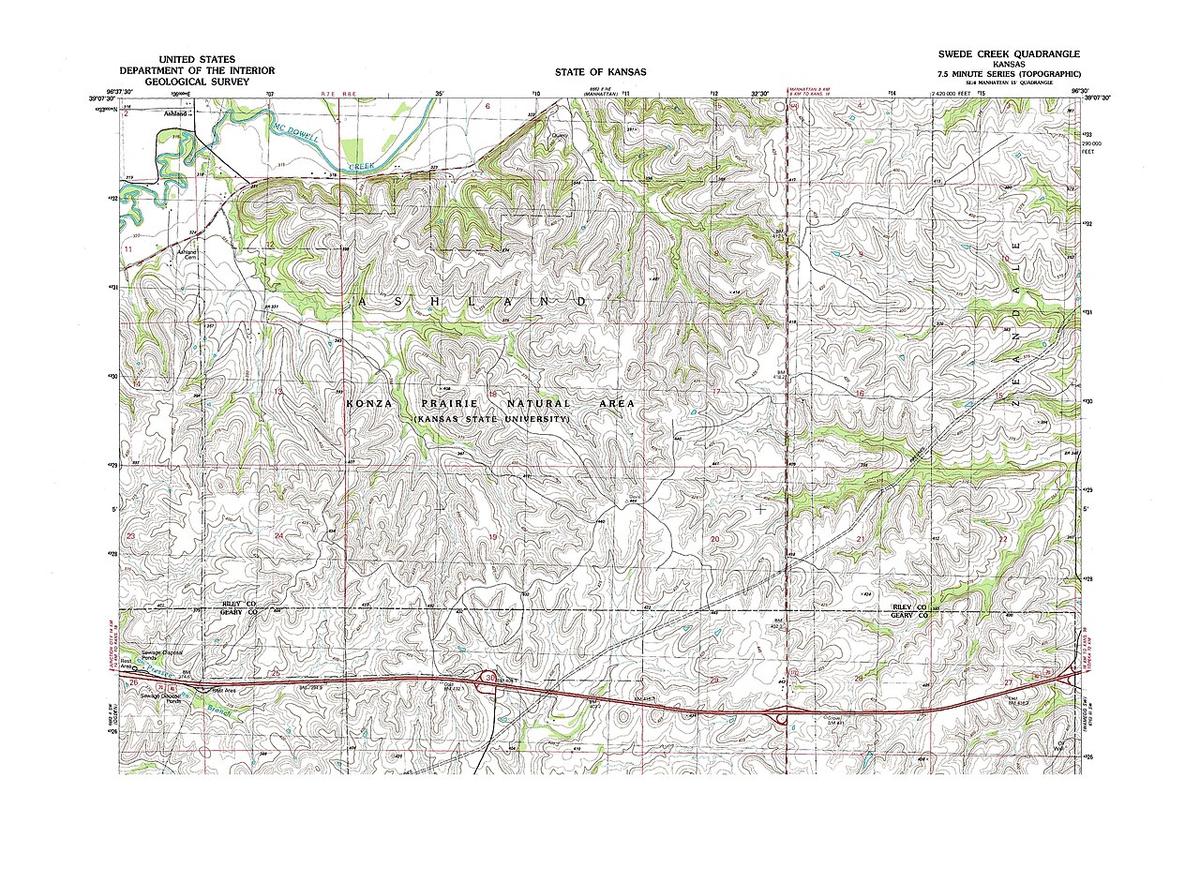
  3. Hill: high ground that slopes down in every direction. On the map it is a set of closed contour rings inside one another; the smallest ring is the top. Contour rings that get smaller and smaller toward the middle are like a stack of plates getting smaller to the top. The smallest ring is the highest ground. On the ground, a hilltop is where every direction goes down.

    A USGS topographic map with brown contour lines and green woodland
    Closed contour rings on a USGS map mark hills
  4. Saddlesaddle A low dip between two high points on a ridge, shaped like a horse saddle.: a dip between two areas of higher ground, or a low point along a ridge crest. Standing in one, you have high ground in two opposite directions and low ground in the other two. On the map it looks like an hourglass. Picture the seat of a horse saddle: high in front and behind, low on the two sides. On the map, two hills with a narrow pinch between them make the hourglass shape.

  5. Valley: a stretched-out groove in the land, usually with running water in it and high ground on three sides. Its contour lines are U or V shaped, and the closed end of the U or V always points upstream, toward the high ground. Water flows from high to low. Water runs out the open end of the U or V, downhill. If you find a valley on the map, you can tell which way its stream flows before you see it. Following it downhill is the way the travel lesson says leads toward people.

  6. Ridge: a sloping line of high ground. On its centerline you have low ground in three directions and high ground in one. Its contours are also U or V shaped, but the closed end points away from the high ground. Cross a ridge at right angles and you climb steeply, then descend steeply. A ridge looks like a valley on the map, but upside down: the closed end of the U or V points downhill, away from the high ground. Ask which way the numbers on the lines go up to tell a ridge from a valley.

  7. Depression: a low point or sinkhole with higher ground all around. On the map it is a closed contour with tick marks pointing in, toward the low ground. Tick marks are short lines on the inside of the ring pointing down into the hole. Without them, the same ring would mean a hilltop.

  8. Draw: a small stream course with no level ground in it, the start of a valley; the ground slopes up in three directions. Spurspur A short arm of raised land that sticks out from the side of a ridge.: a short line of higher ground jutting out from the side of a ridge, usually between two draws; the ground slopes down in three directions. Draws point their U or V toward high ground, spurs away from it. A draw is a small gully, like a little valley; a spur is a short finger of high ground sticking out from a ridge. They come in pairs side by side. Same rule as valley and ridge: a U or V pointing toward high ground is a draw, pointing away is a spur.

  9. Cliff: contour lines that rungame trail A narrow path worn through grass or brush by animals using it over and over. A trap goes on a trail an animal already uses. very close together, touch, or merge into one line with tick marks toward the low ground. An abrupt drop. When lines crowd together, the ground is steep. When they touch or merge, the ground drops straight down. Plan a route that goes around these, not over them.

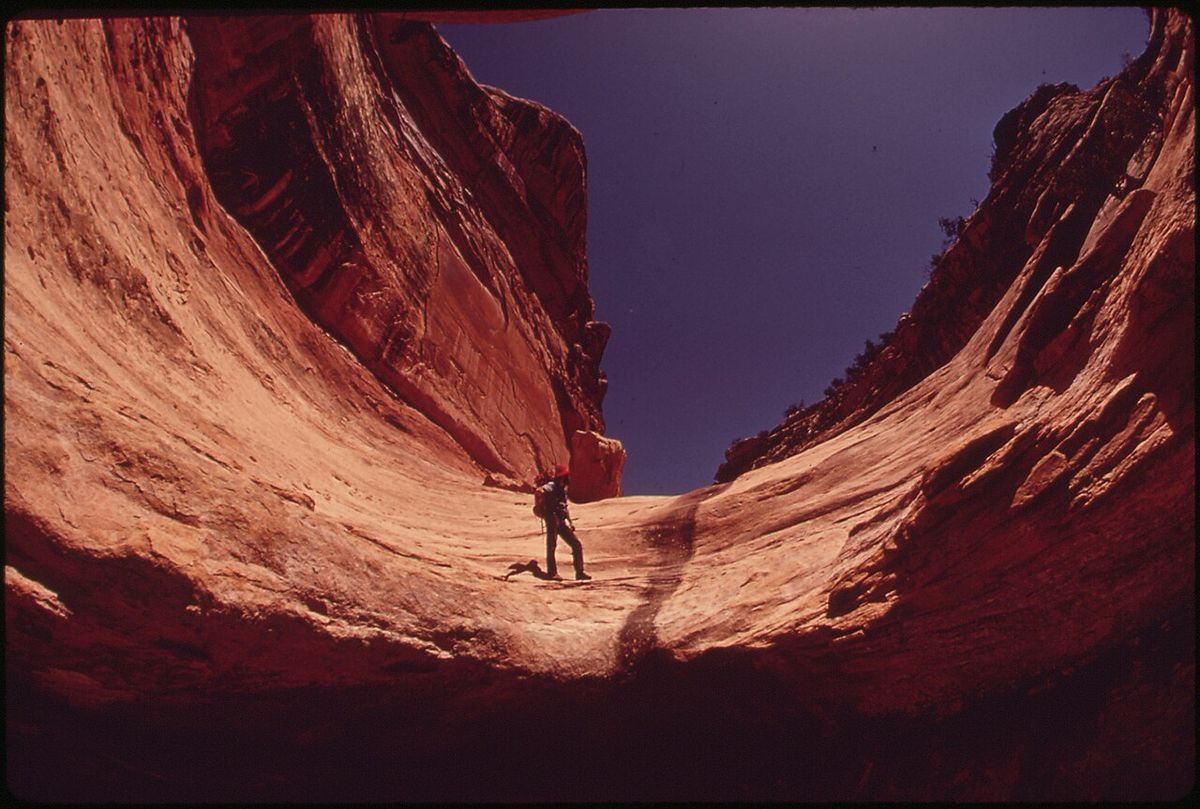
  10. To move, steer by landmarks: pick a feature you can see, walk to it, then pick the next. The recovery manual estimates how far you have come with rate times time equals distance, adjusted for steep ground, night and injury. Pick a tree, rock or hilltop in the direction you want to go, walk to it, then pick another. To track how far you walked, count pacespace count How many of your steps it takes to cover 100 meters. Counting paces tells you how far you have walked.: one pace is each time the same foot touches the ground. The recovery manual says that is about 900 paces per 0.6 mile (1 kilometer) on open ground and about 1,200 on rough ground, and that you go slower on steep ground, at night or when hurt.

    A hiker walking through a narrow red rock canyon toward distant light
    Pick a feature you can see, walk to it, then pick the next

Tips from survival instructors

  • Turn the map so it matches the land around you. Then what is ahead of you on the map is ahead of you on the ground.
  • Pick a landmark in the direction you want to go, walk to it, then pick the next. Do not stare at the map while walking.

Common mistakes

  • Mixing up a valley and a ridge. Fix: the closed end of the U or V points toward high ground in a valley or draw, away from it on a ridge or spur.
  • Reading a depression as a hilltop. Fix: look for tick marks pointing inward; they mean low ground.
  • Missing a cliff. Fix: lines very close together, touching or merging mean a steep drop; route around it.
  • Letting someone else keep track of where you are. Fix: find your own spot on the map and relate it to the land often.
  • Trying to walk a straight line through rough land. Fix: steer from one landmark to the next and adjust your distance estimate for steep ground, night and injuries.

Practice it safely

Get a free topographic map of a park or hill near you, the kind with brown contour lines. At home, find one of each shape: a hill, a saddle, a valley, a ridge, a depression if there is one, a draw, a spur and a steep spot. Then visit the park and try to stand on each one. Ask: does the ground go up or down in the directions the manual says?

Count your paces along a measured stretch, like a school track or a football field, to learn your own pace count. Then walk a short park trail from landmark to landmark, marking your progress on the map as you go. Stay on marked trails.

Quick check

You have high ground in two opposite directions and low ground in the other two. Where are you?

  • On a spur
  • In a saddle
  • On a hilltop
Show the answer

In a saddle

Take the quiz and earn the badge

The app checks your answers, keeps your place in the Finding your way, and works with no signal once saved.

Before you rely on thisA learning tool, not a replacement for training. In an emergency, call 911.

Sources

Photo credits
Photo: Kenneth Allen, CC BY-SA 2.0, sourcePhoto: USGS, Public Domain, sourcePhoto: David Hiser, Public Domain, source

More on finding your way